
You might have heard about “PowerApps” – powerapps.microsoft.com, which is a new free service and app builder from Microsoft. The service allows for non-developers to build beautiful apps, that works from any device. In this blog post, I will guide you through creating your first simple PowerApp, that could help improve the satisfaction of those submitting new ideas in your organization. The PowerApp would also work for any regular SharePoint list, but if using a list from Project Online, you can automatically create a project directly from an idea or even multiple ideas. In order to make this work, you should already be running Microsoft Project Online and have created a SharePoint list, which will server as the entry point/hub for new business ideas.
Step 1: Launch PowerApps from your SharePoint list in Project Online
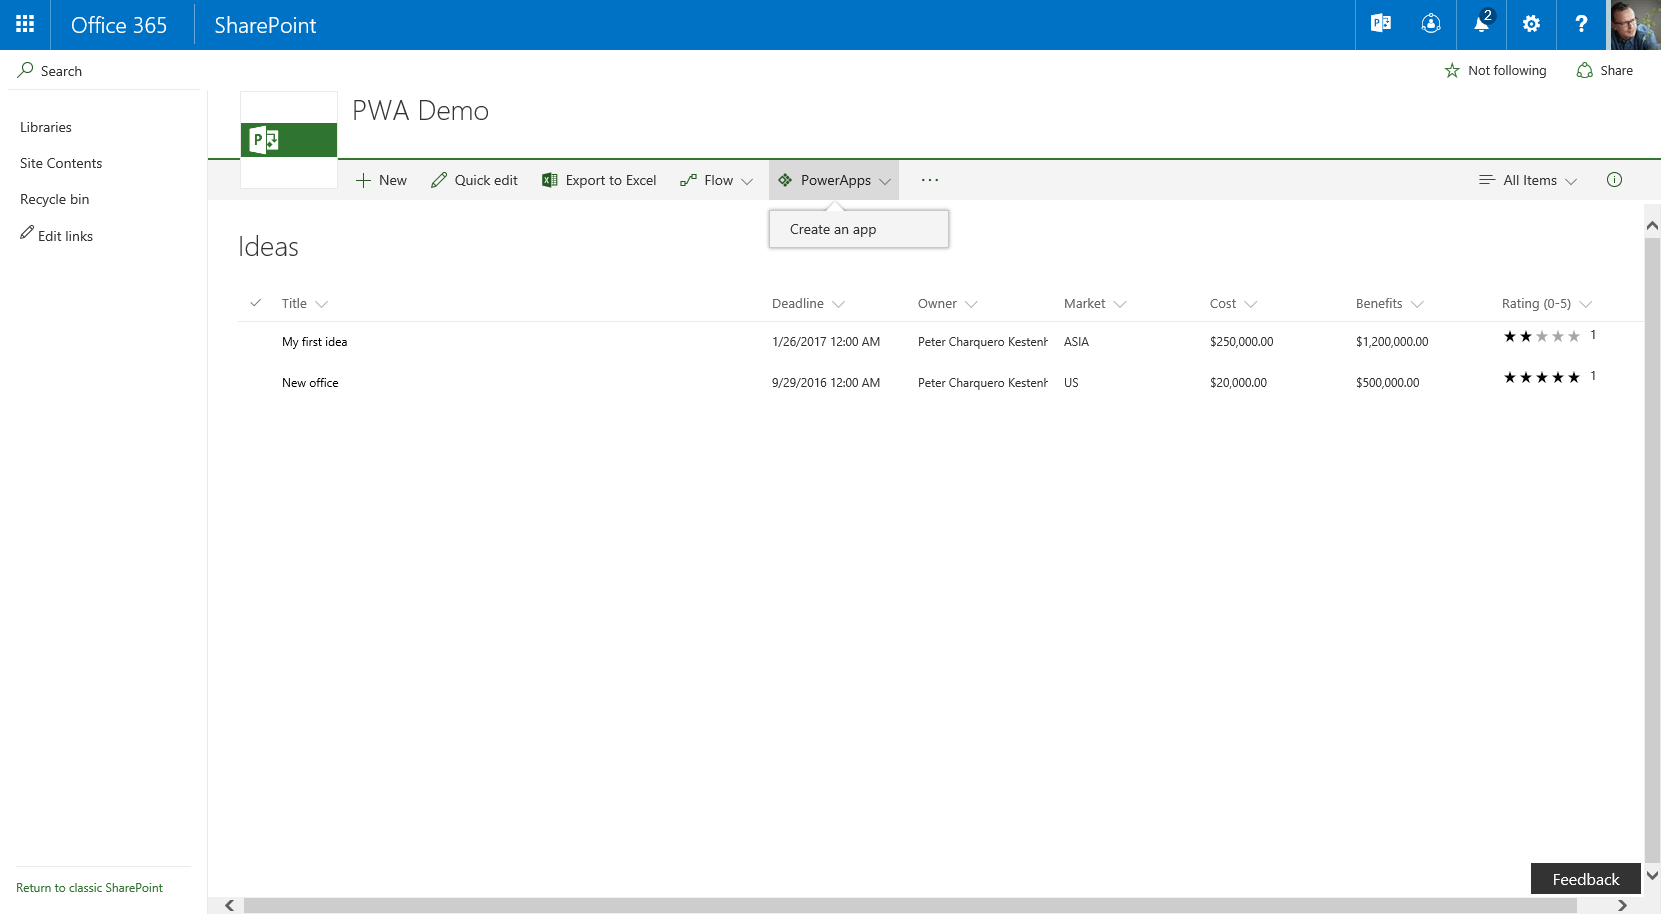
Ensure you have set up a new SharePoint list with some basic data that will be used to describe new ideas. Notice that you will have the option to “Create an App” from the top of the list
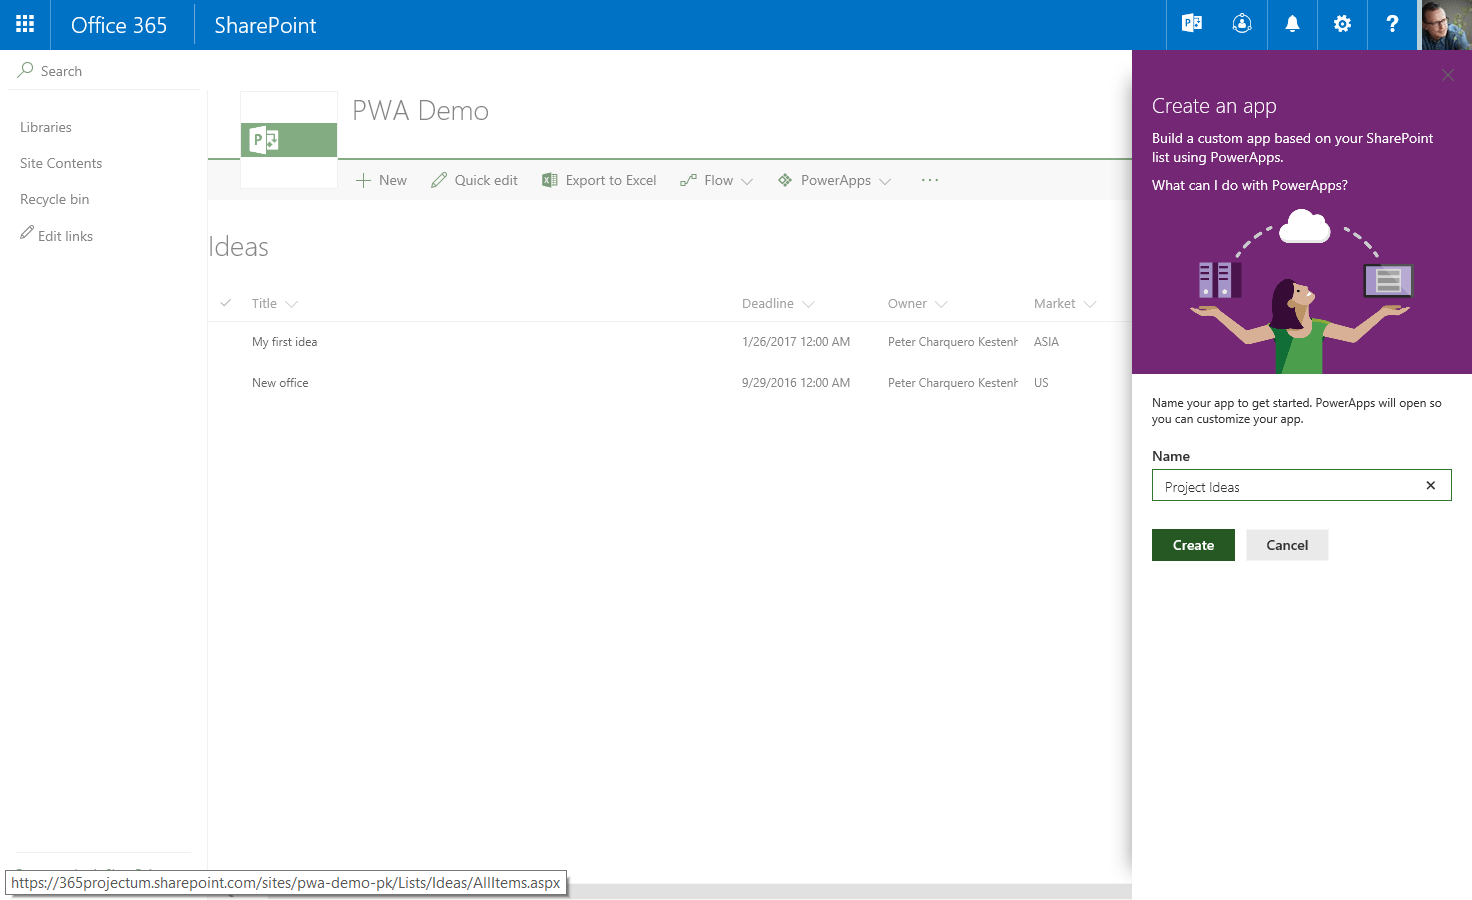
Give the app a cool name using the right side pane
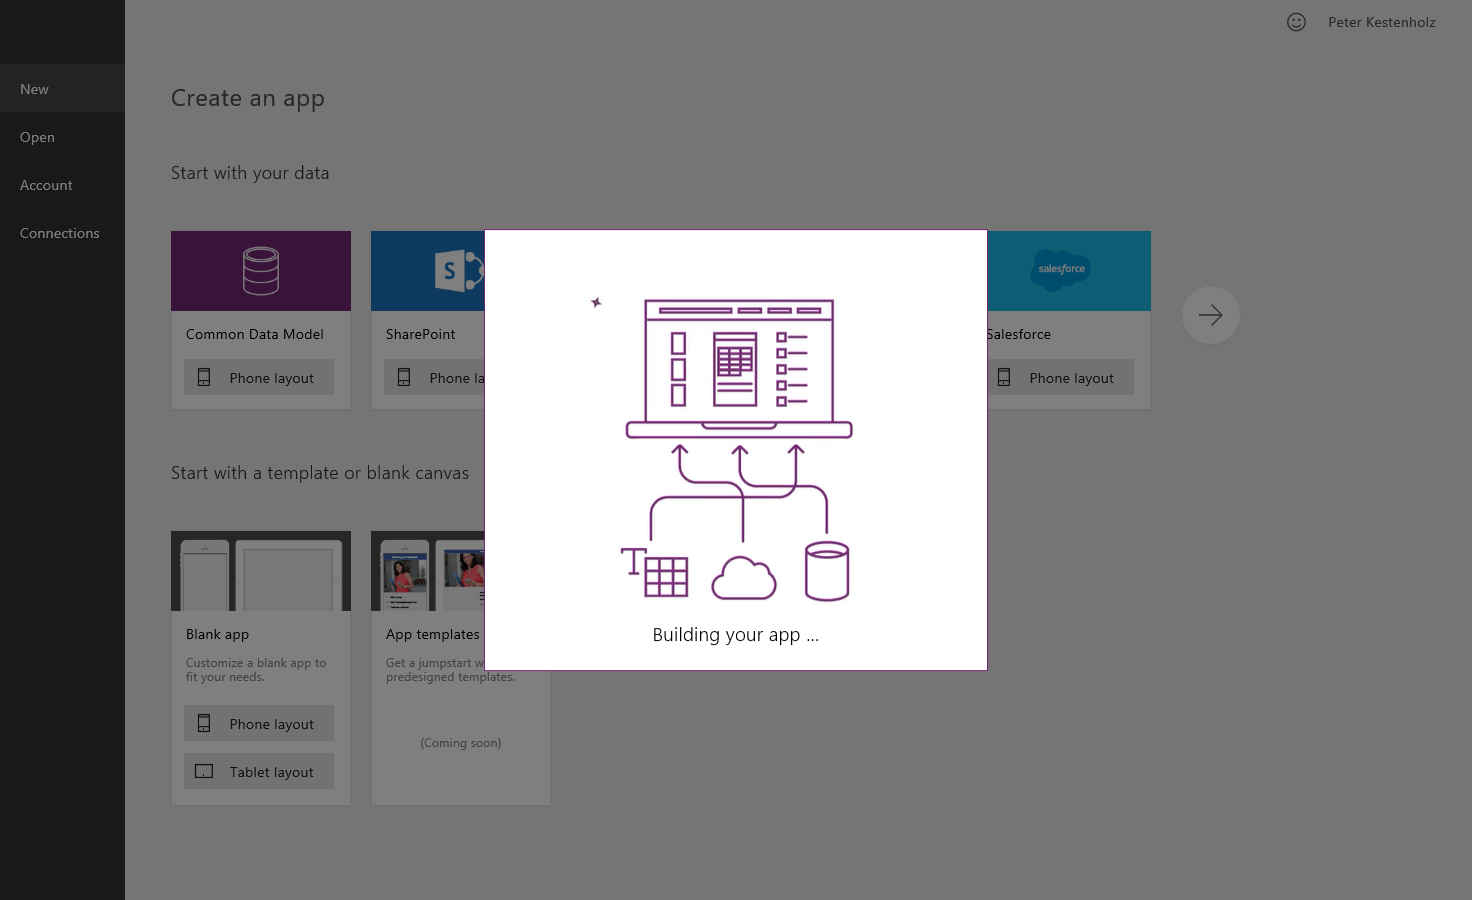
Step 2: Wait for PowerApps to build you first draft of the app
PowerApps will get you started as smooth as possible setting up all the needed connections and reusing all the list columns you have configured
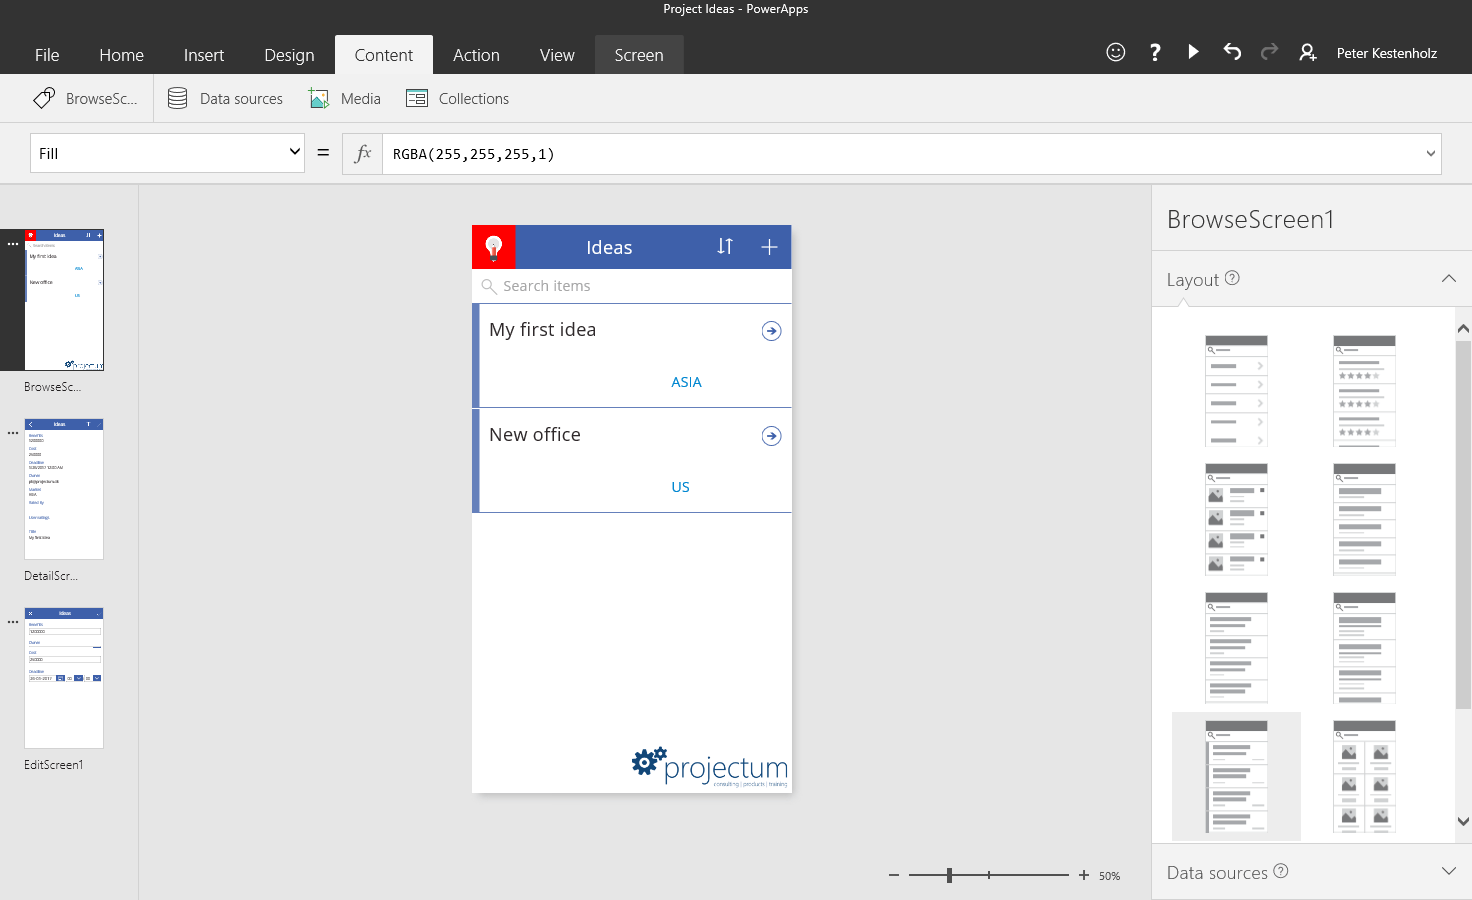
Step 3: Modify the layout and publish the app
When the draft app has been build, go ahead and modify the layout with custom pictures, more buttons and a lot of features, which you learn more about from powerapps.microsoft.com. I have chosen to simply add a company logo at the bottom and an idea icon in the top. Notice that you have different layouts in the left side: a front page, an edit page and an “add new” page. When done editing, simply hit “file” and save/publish the app. Remember to add a cool app icon
Step 4: Launch PowerApps from you mobile device
The app should already be set up correctly – its that easy. To test it in real life, download PowerApps to your mobile device, in this case iOS. Launch the app and login using your normal O365 user account information. Notice that you app is already available and now simply launch it!

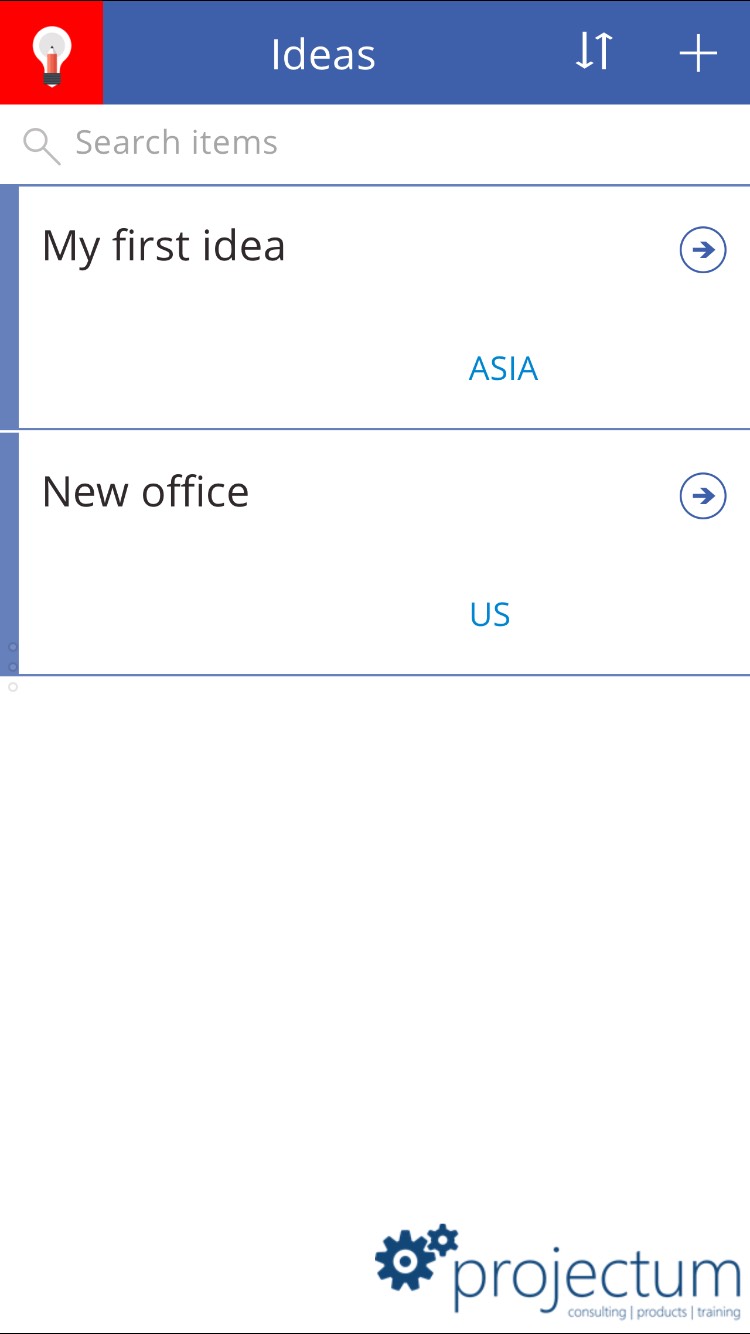
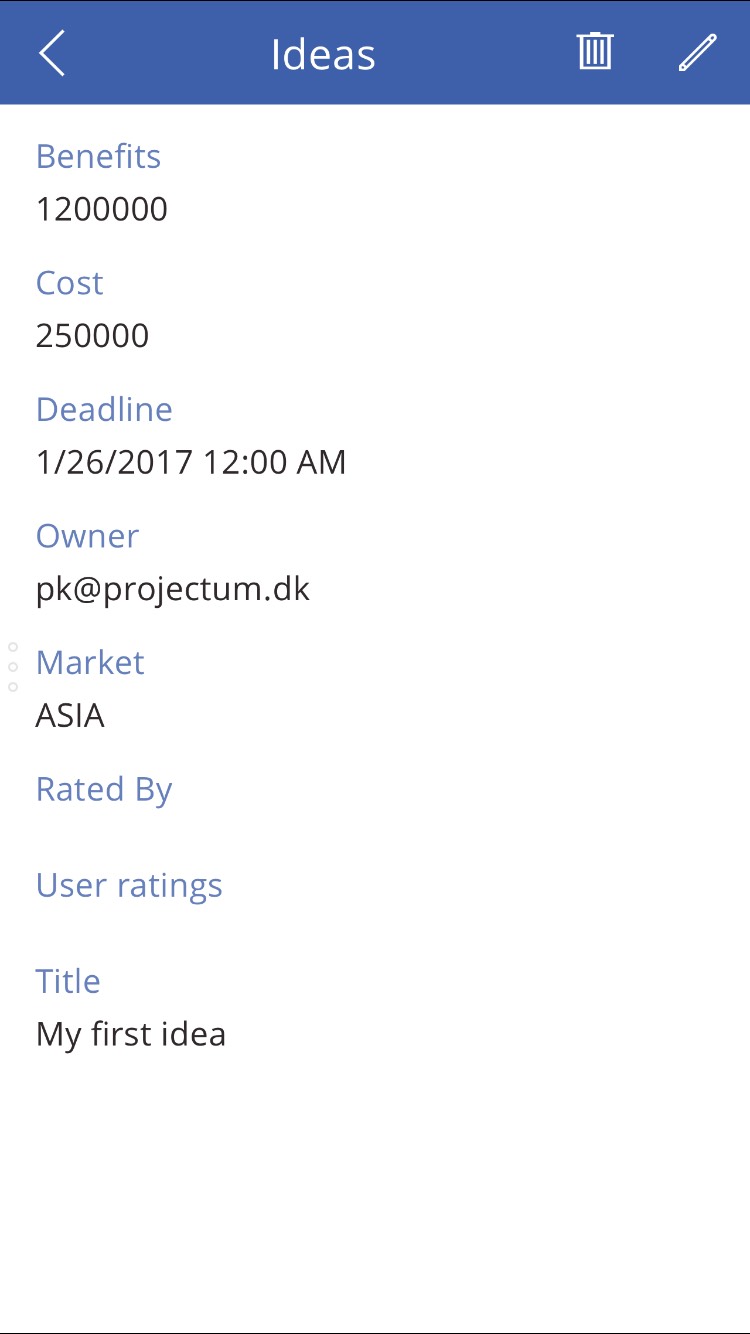
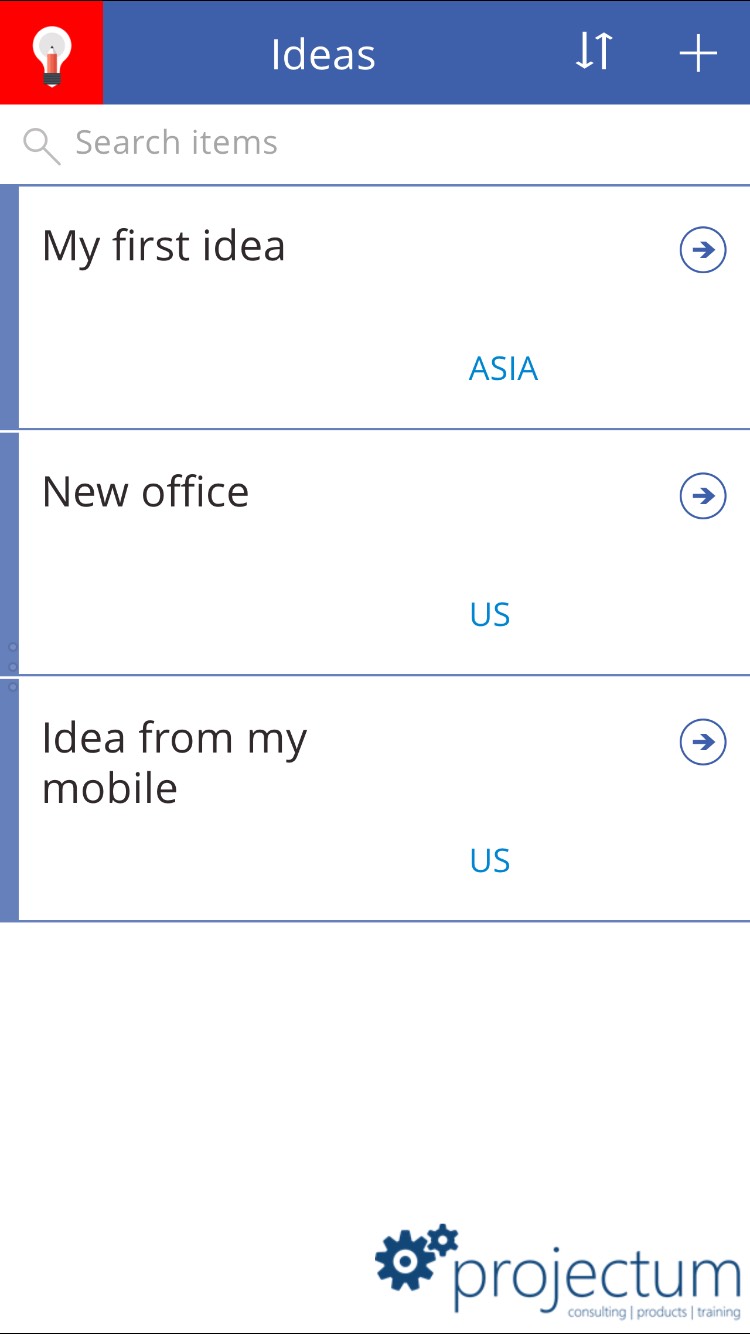
Step 5: View and edit ideas
From the app you can now view the list of ideas and also edit them
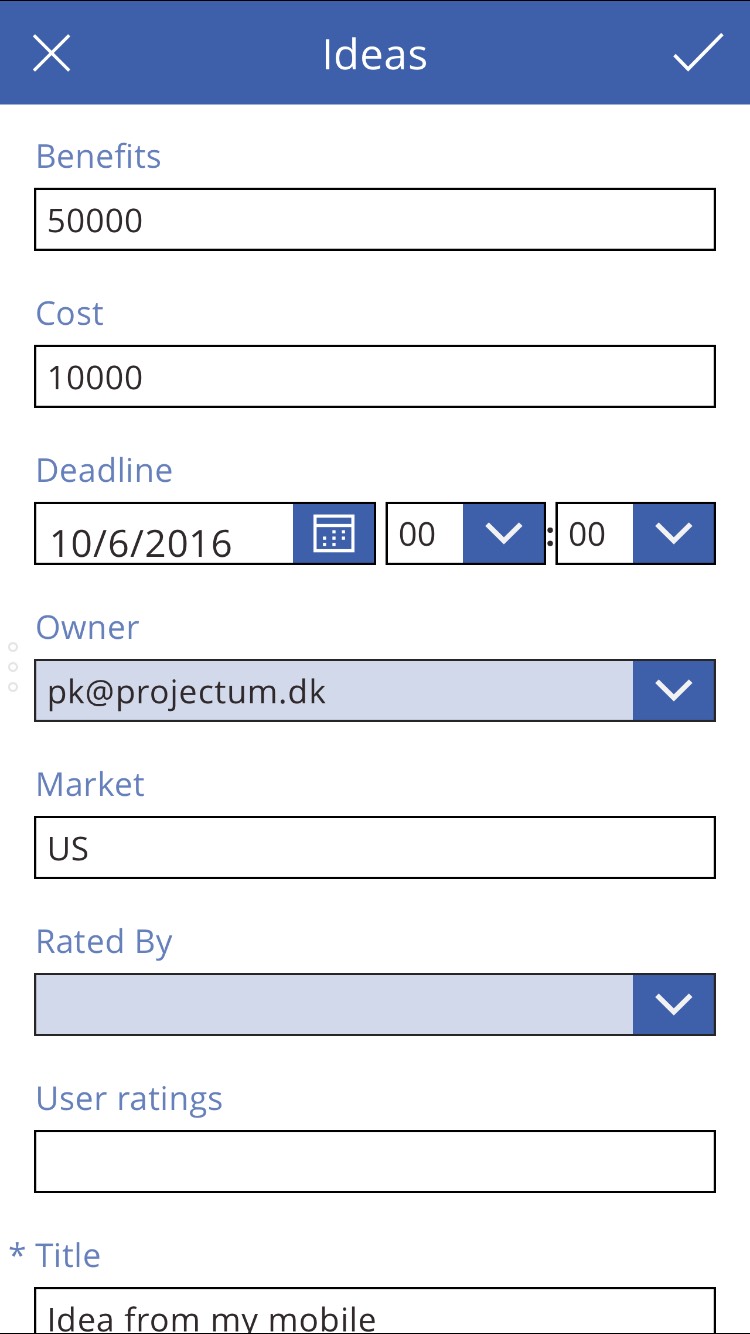
Step 6: Create a new idea from you PowerApp
Hit the + symbol to add a new idea to the list, add the information and hit the create icon on the top left. Afterwards you will be send back to the main page and can now see you new idea has been created
Step 7: See your idea in the SharePoint/Idea list in Project Online
Once the idea has been submitted it will be available a few seconds after in the SharePoint list you have used for capturing new business proposals

Other options from here:
Use Microsoft Flow to alert people on ideas that need approvals
Use the “Create Projects in Project Server” functionality to create a project from an idea in Project Online
Use Microsoft Flow to let the creator of an idea know when “a real” project has been created from the idea in Project Online
…..and many more options
Wonderful!) But do you know how to change old pwa content site view to new view with flow and power apps button?
Hi Oleksiy,
I am not sure how to turn it on as it is always on for my test tenants. Are you getting early updates in your tenant?
you it’s look like a new one, but don’t know why)